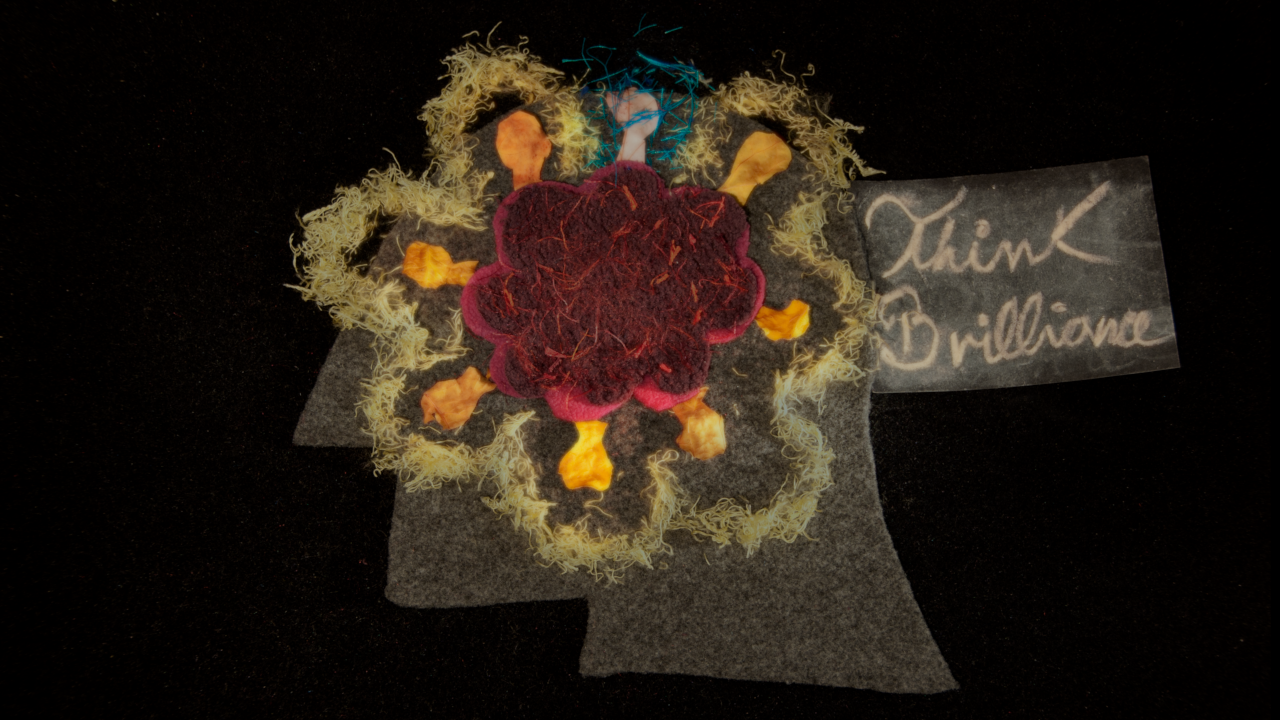
Think Brilliance
An idea who wants to be brilliant, but...
This is my animation final project short-film while attending Vancouver Film School's 3D and Visual Effects program.
Animation Process
Mr. Lightbulb's animation was approached with traditional animation in mind. Instead of letting the computer dictate how the ideas and poses would be, I started all with sketching every idea and pose needed, plan it all out on paper, to make sure the flow wasn't lost due to any technical limitations.
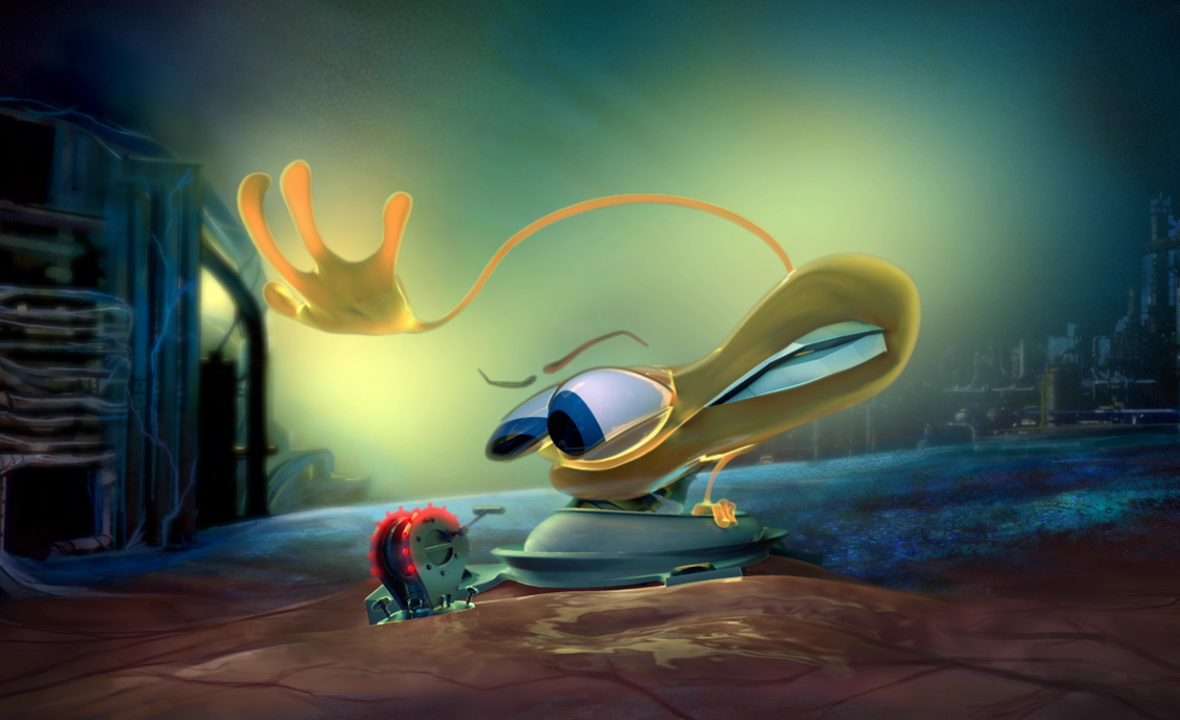
Once, in the computer I used a very basic and almost broken rig, that would allow me to place the major masses of the character where needed, and then, to keep the animation more gestural, and true to it's traditional form, I sculpted on top of each frame to get the proper feeling that was intended. This allowed me to approach the shot more like drawings/maquettes rather than separate pieces like it's usually done in most 3D productions.
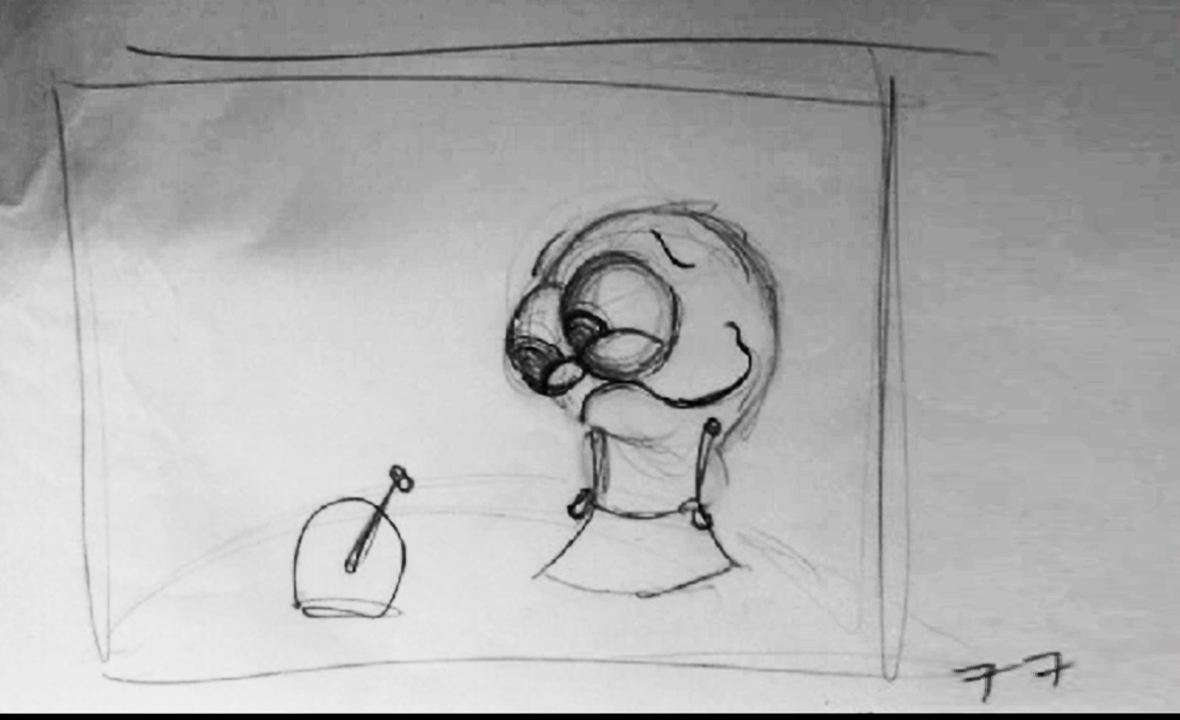
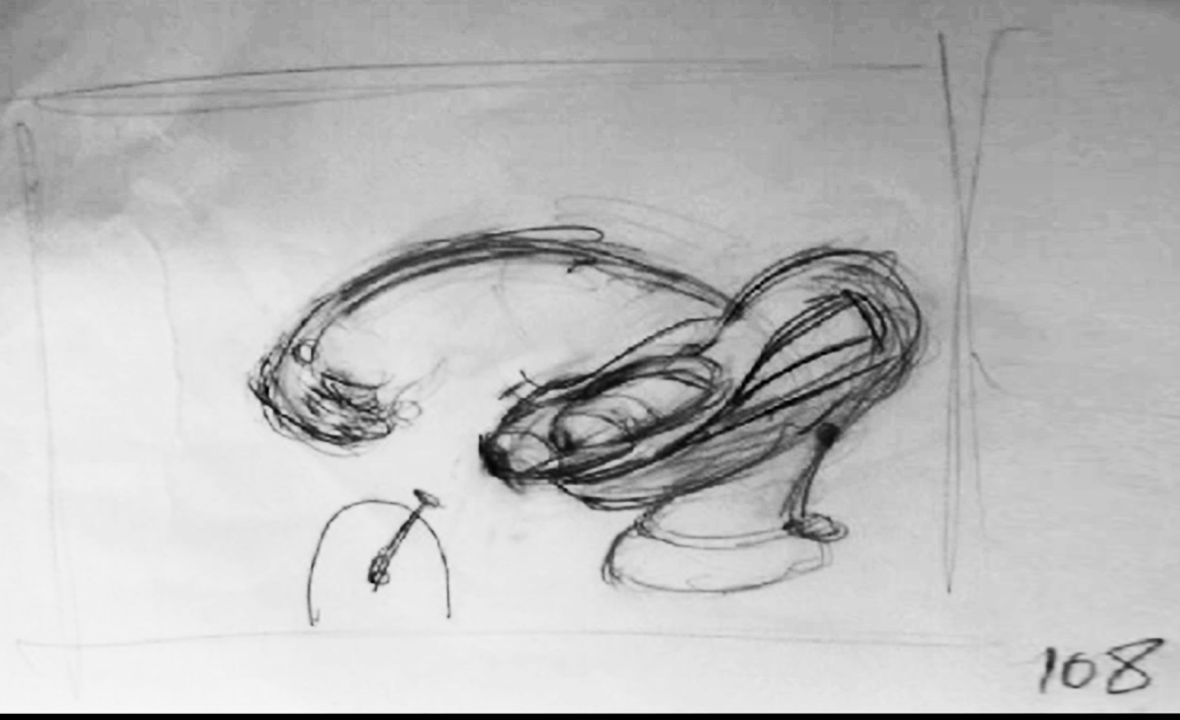
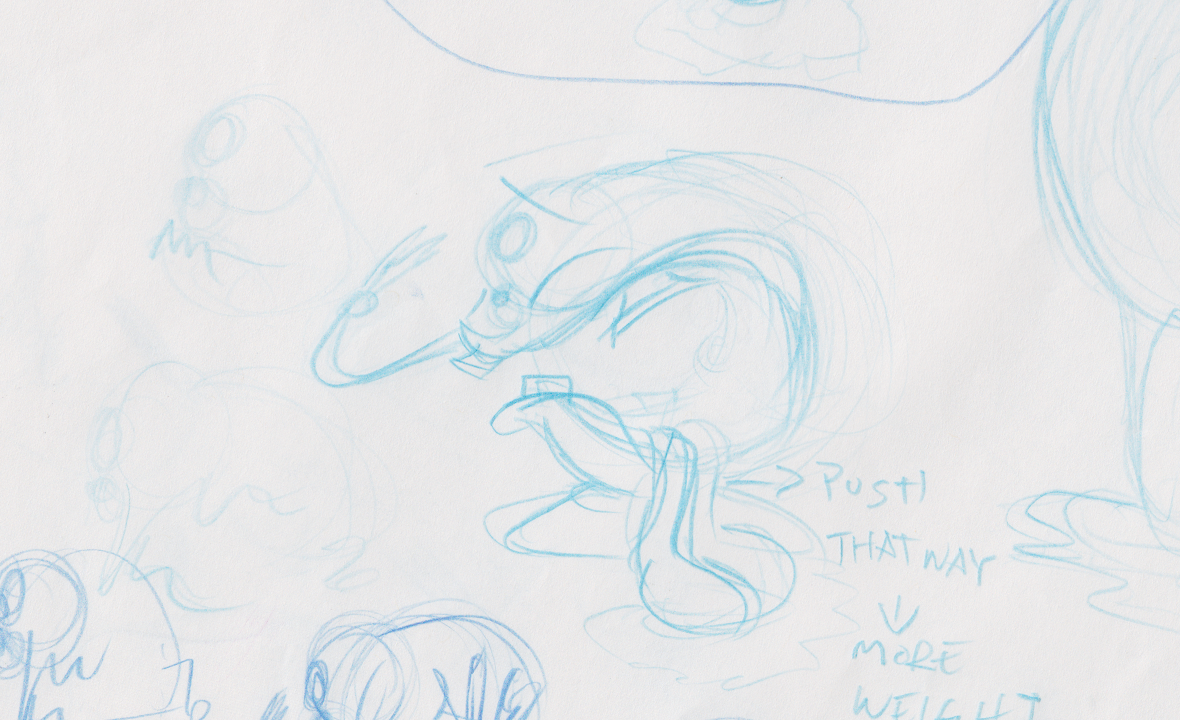
Hand-drawn Test
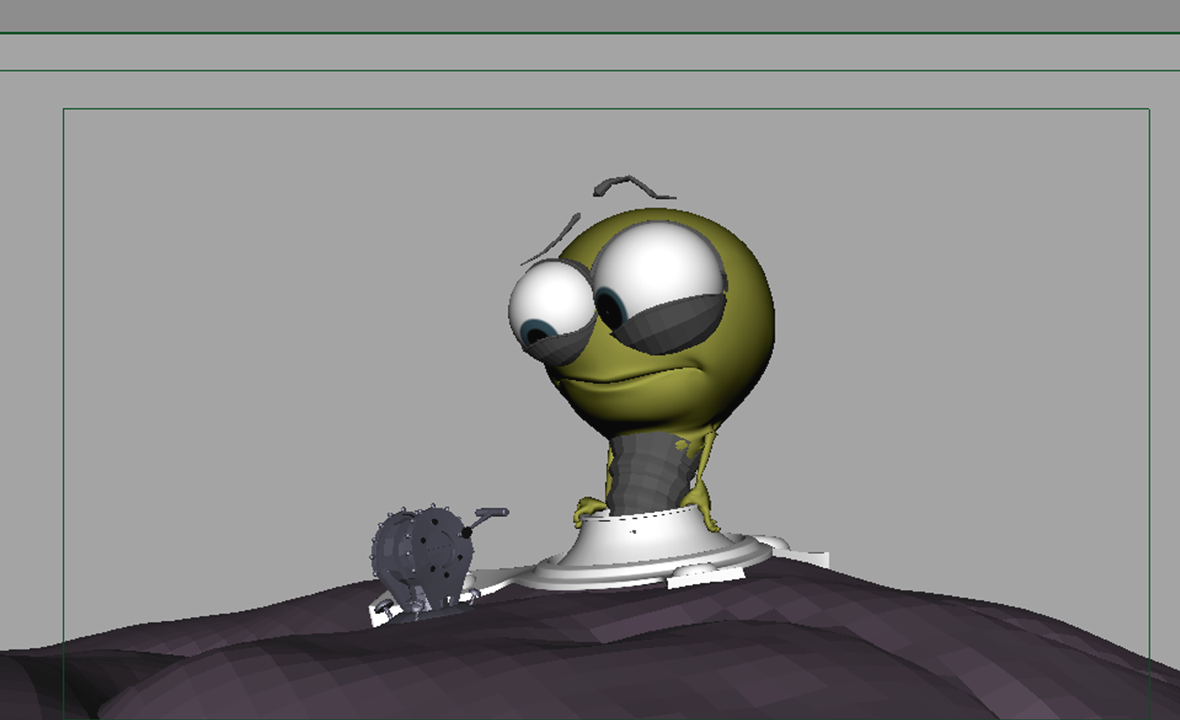
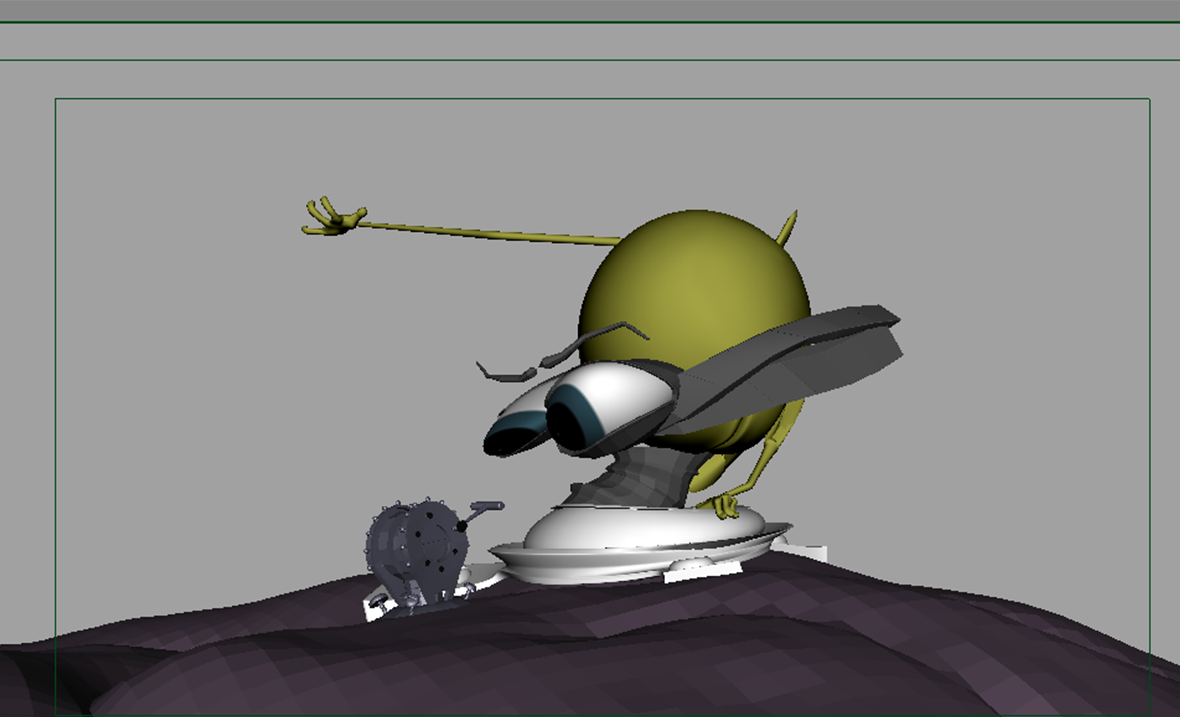
Basic Rig Pose
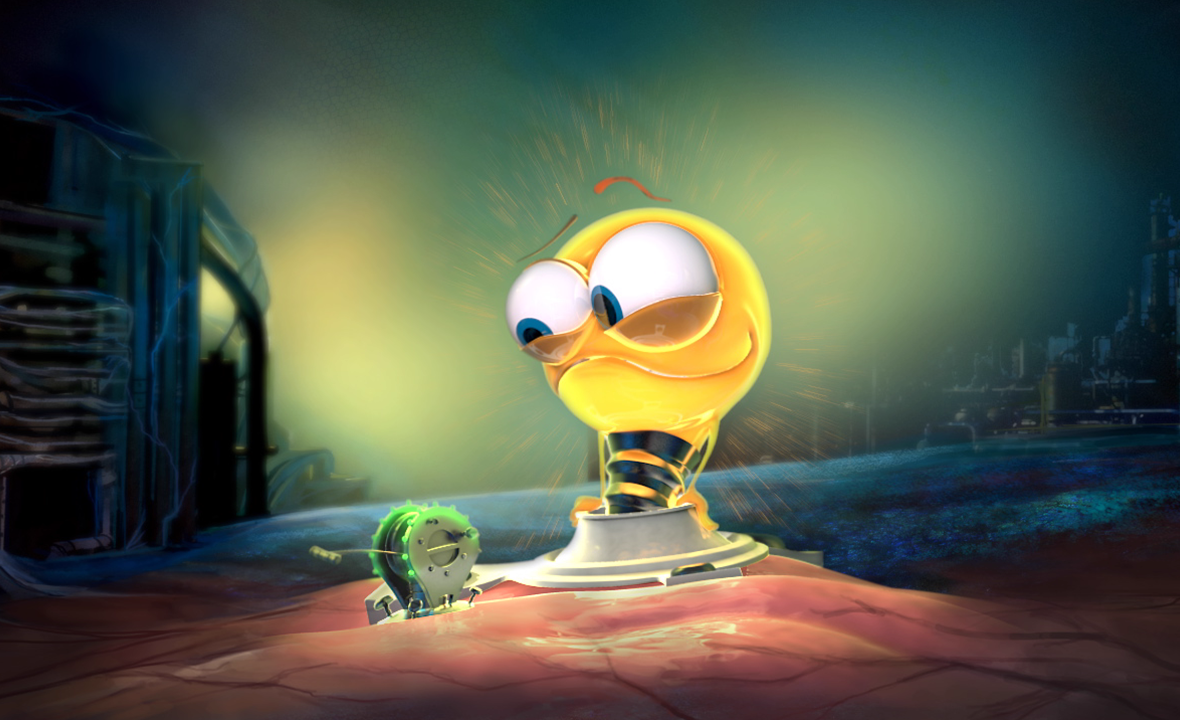
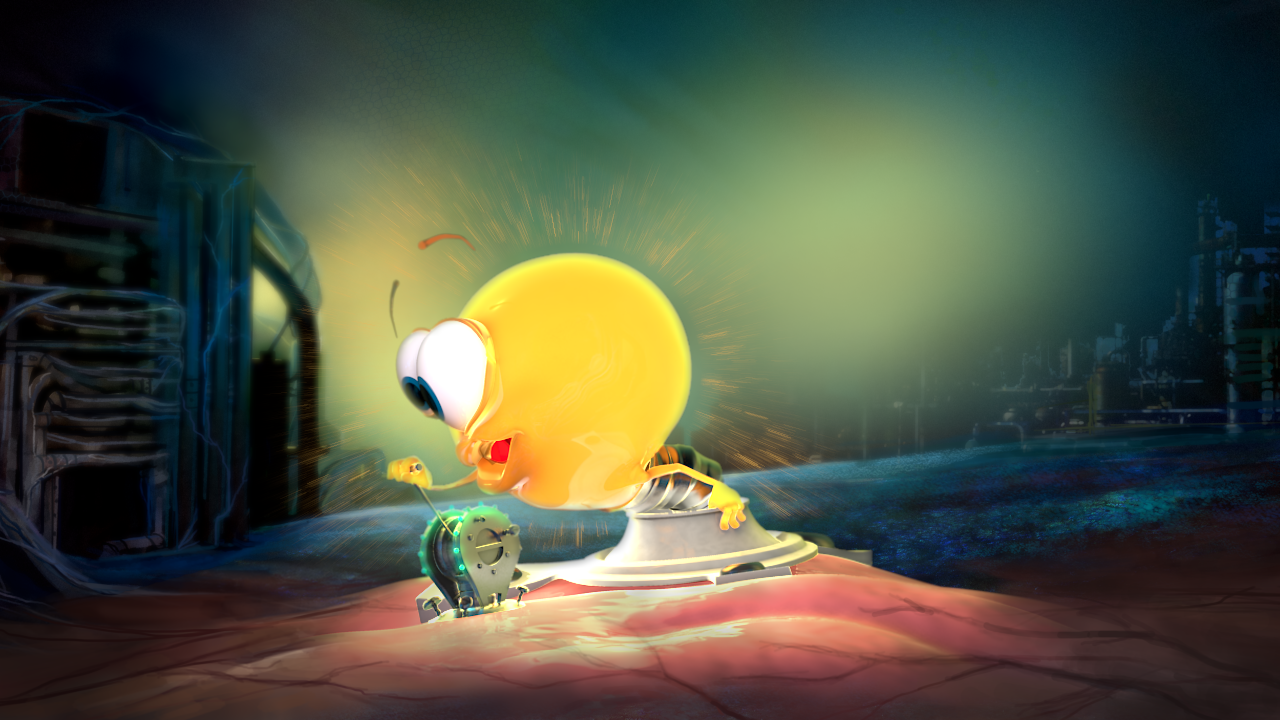
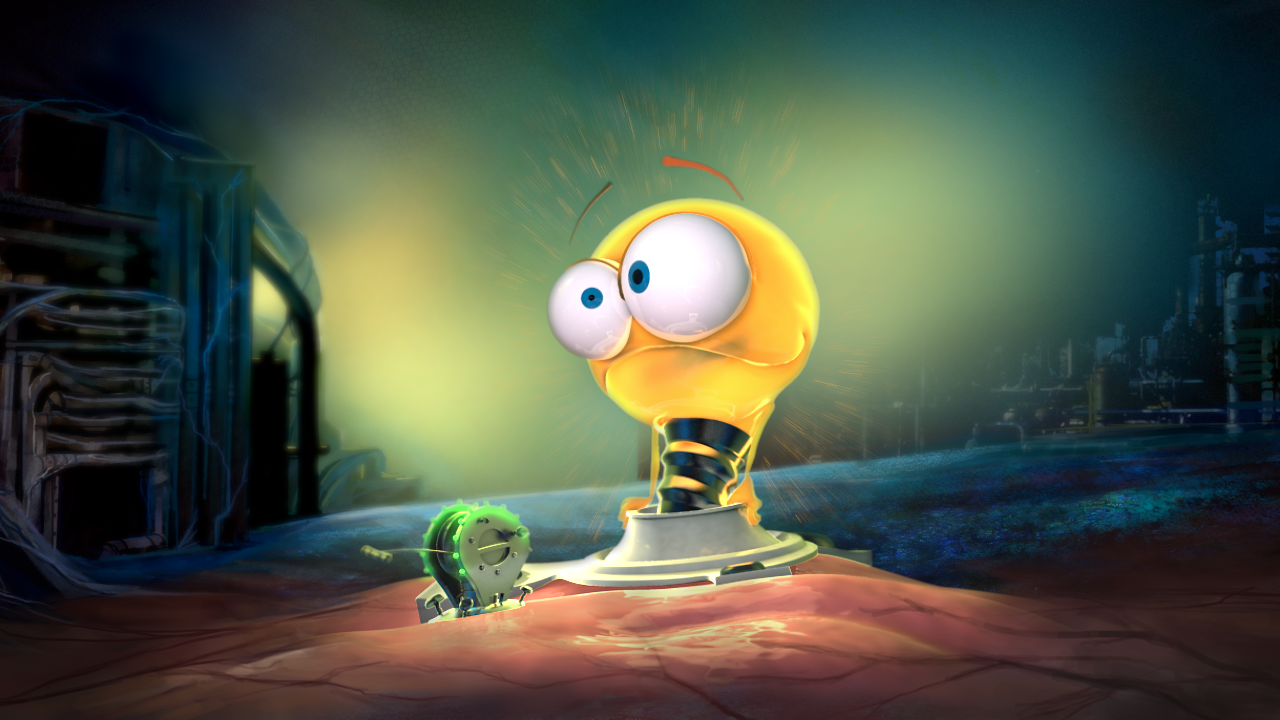
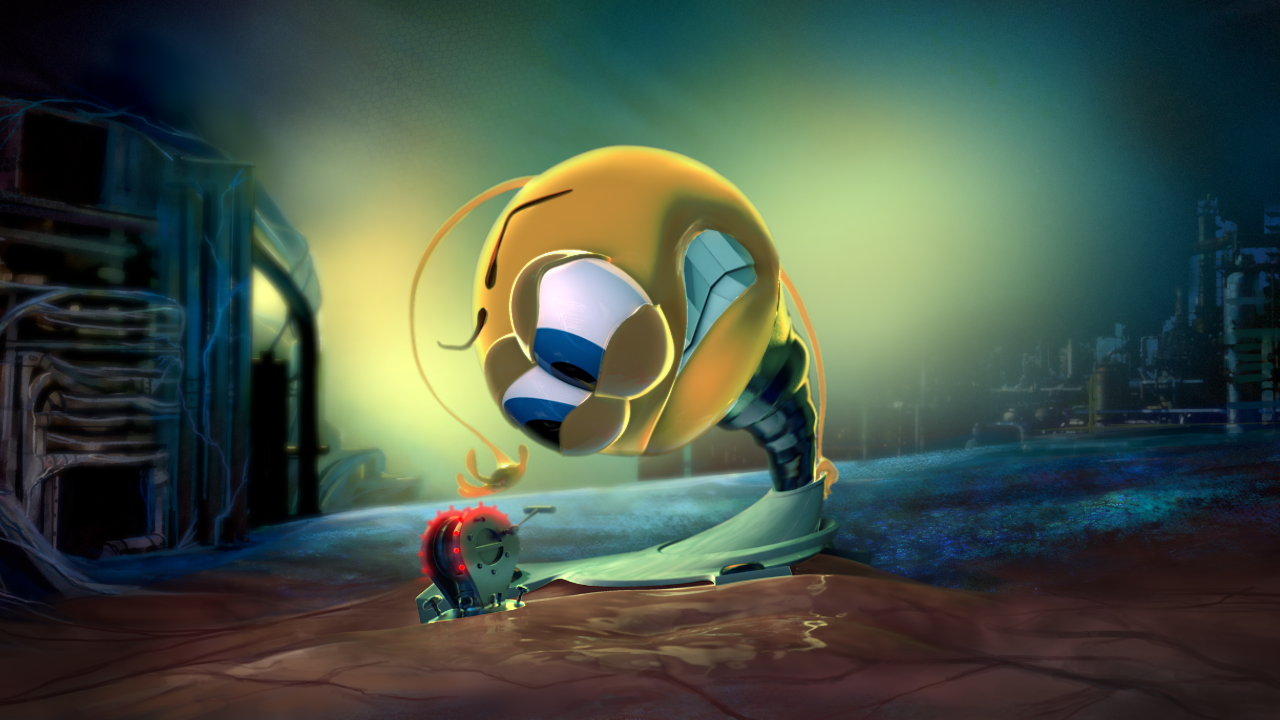
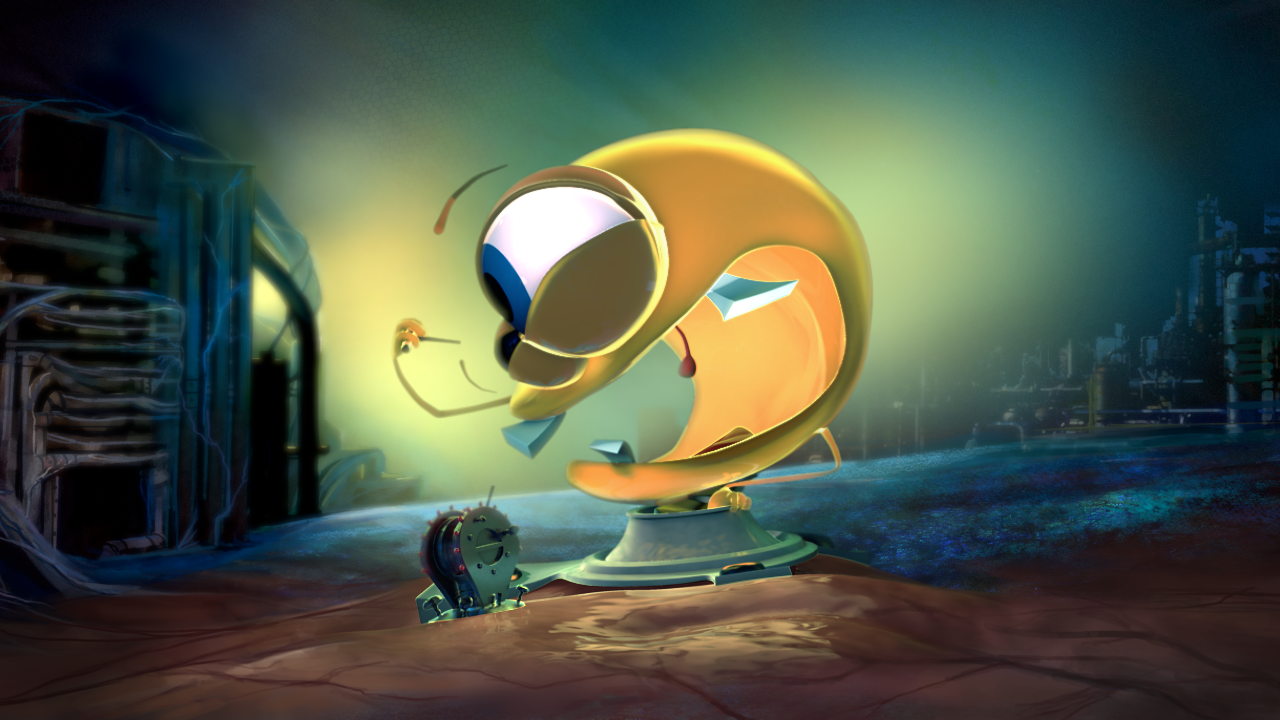
Sculpted Pose with Render
Hand-drawn Test
Basic Rig Pose
Sculpted Pose with Render
Hand-drawn Test
Basic Rig Pose
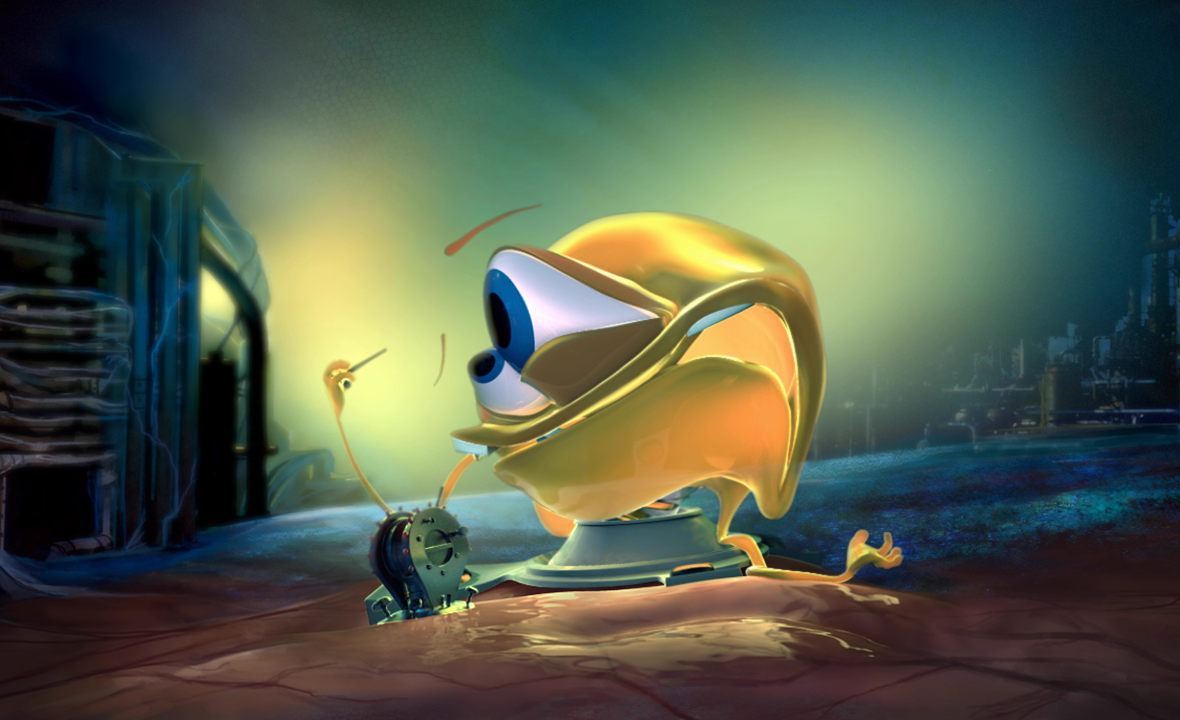
Sculpted Pose with Render
Miscellaneous Process Images
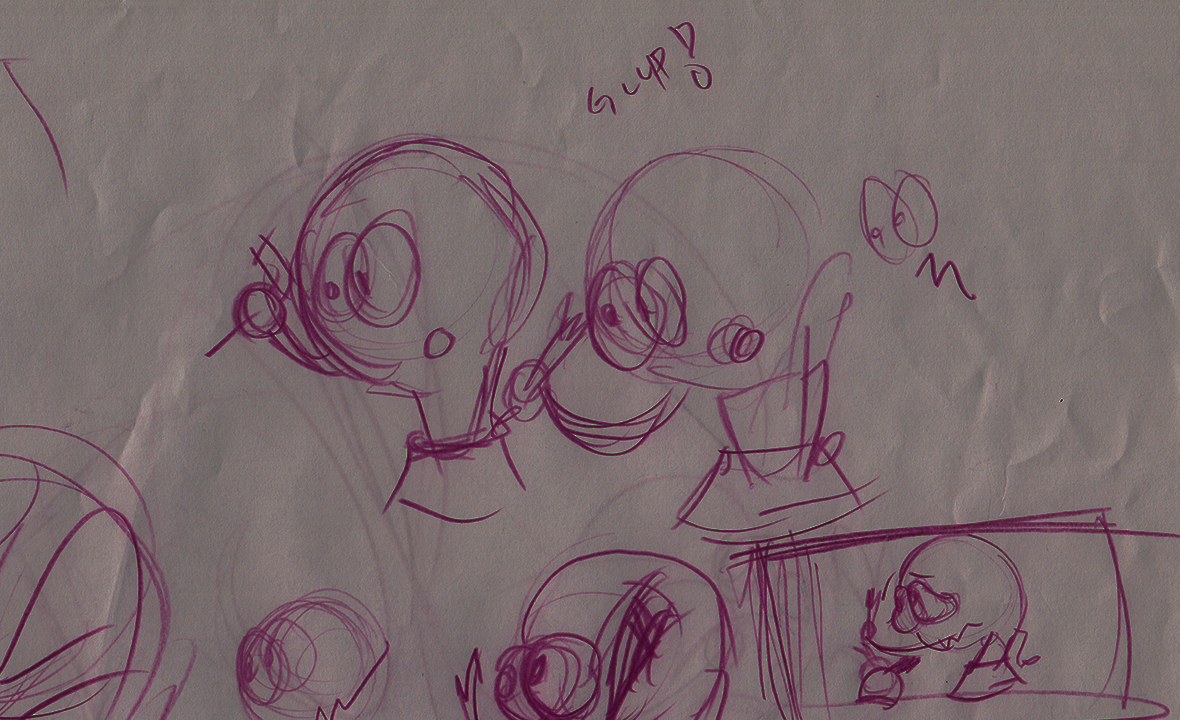
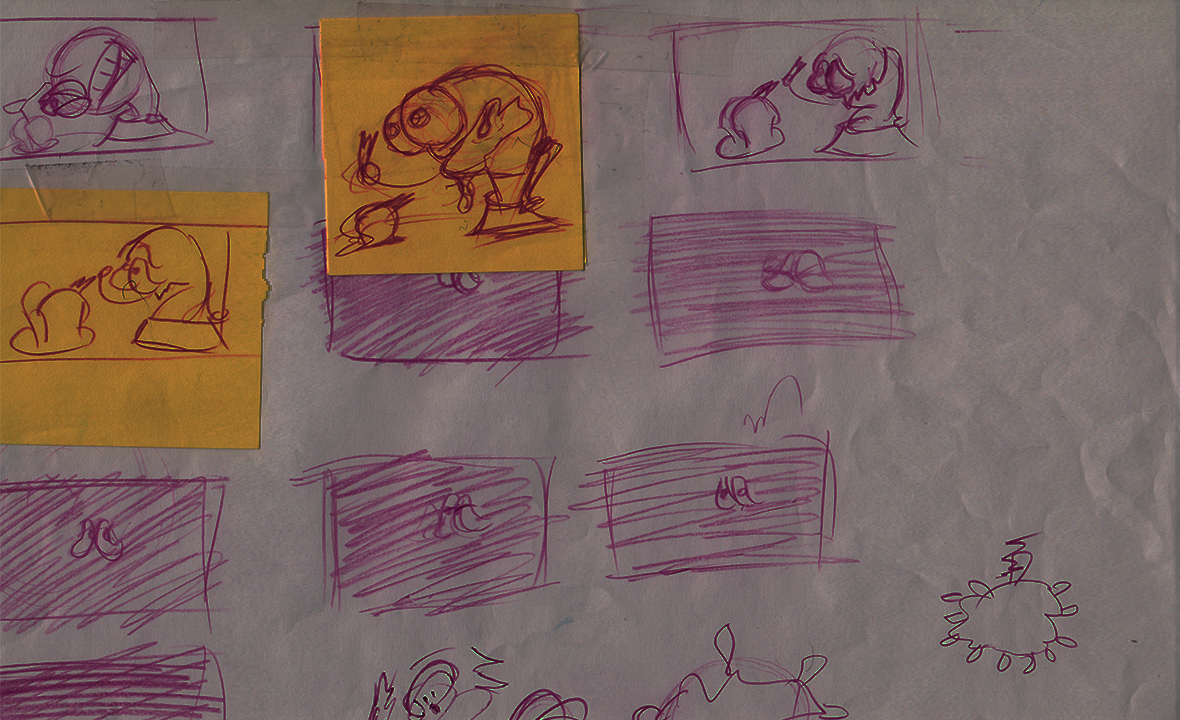
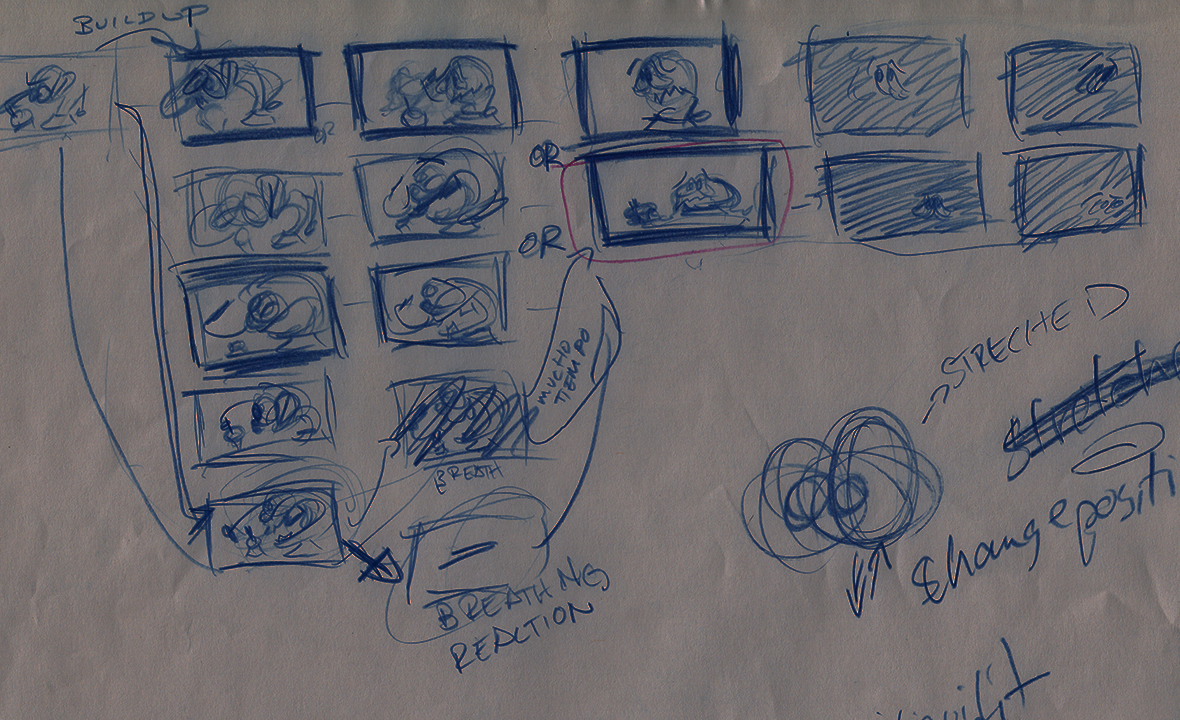
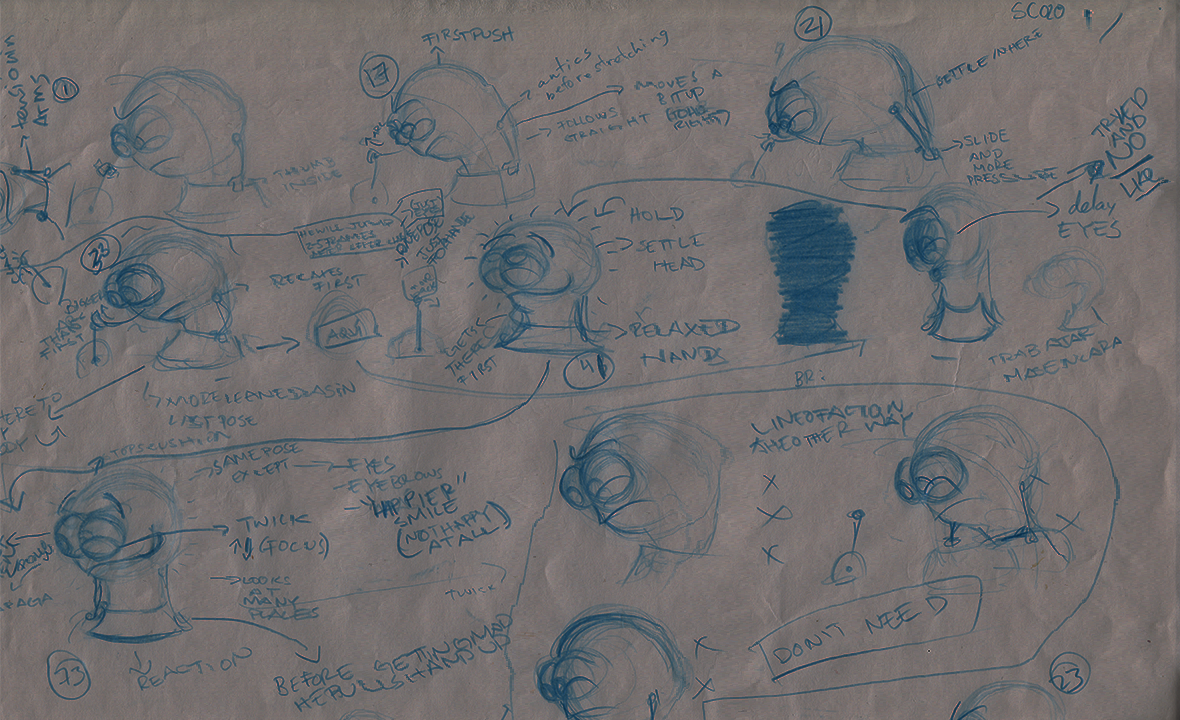

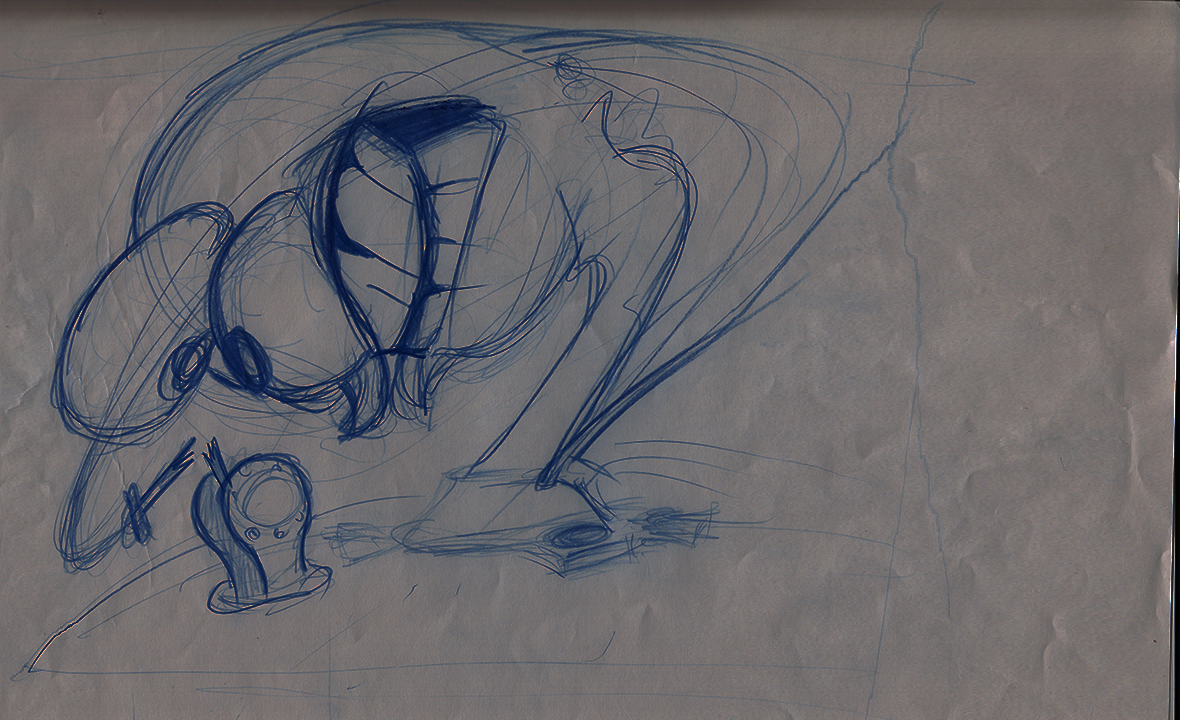
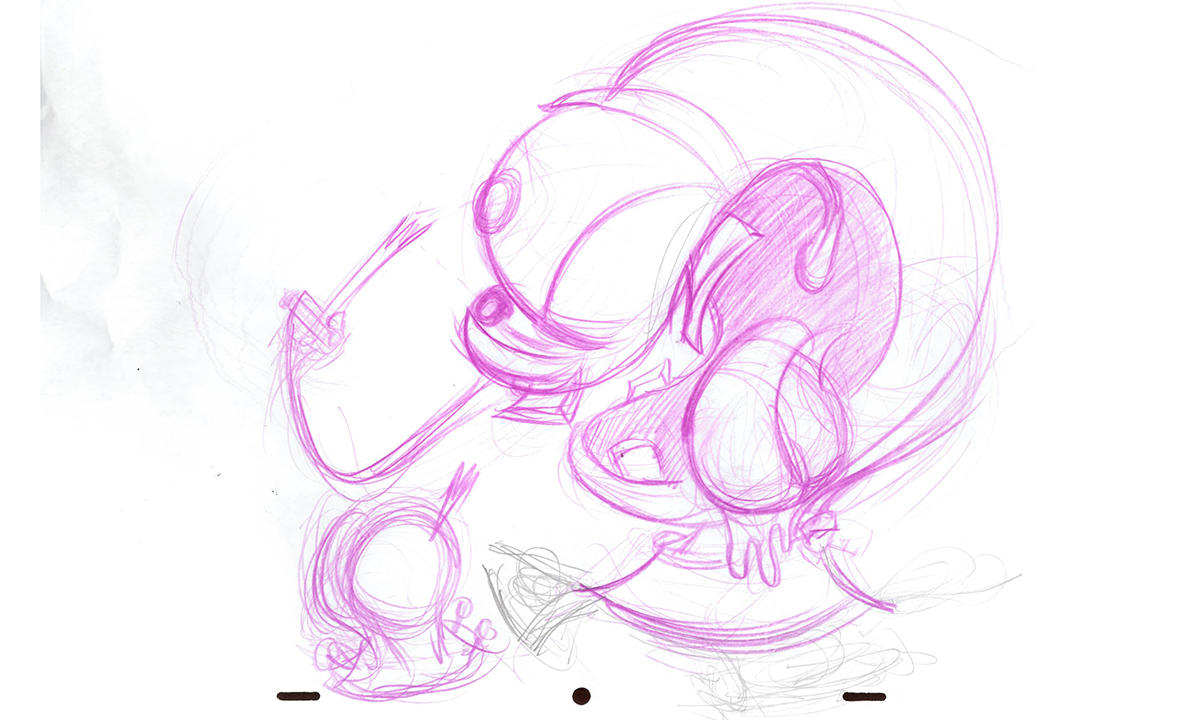
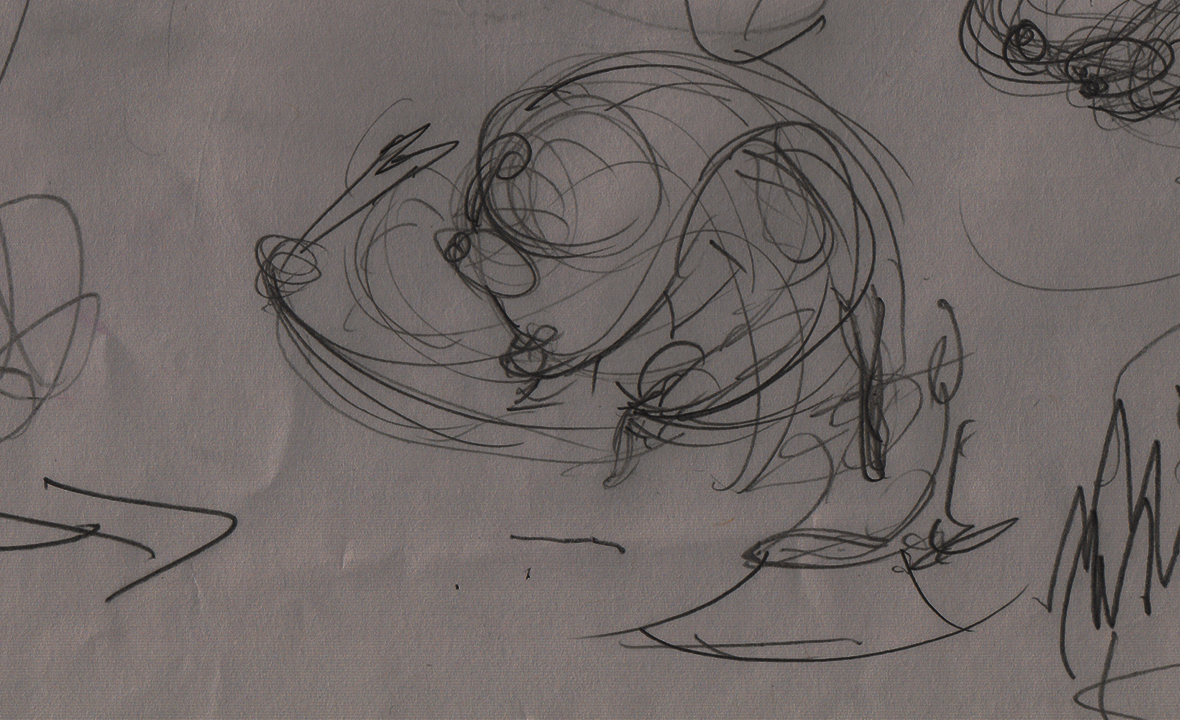
Early Hand-Drawn Test
This is one of the very first hand-drawn tests which was fundamental to explore who the character is? how would the character behave, and what kind of graphic shapes would he need to hit.
Before even approaching the computer, it only seemed like a good idea to explore the character without any of the constrains that the computer gives us. Although the test, is pretty primitive, it gave me a lot of information, on the feelings of Mr. Lightbulb.
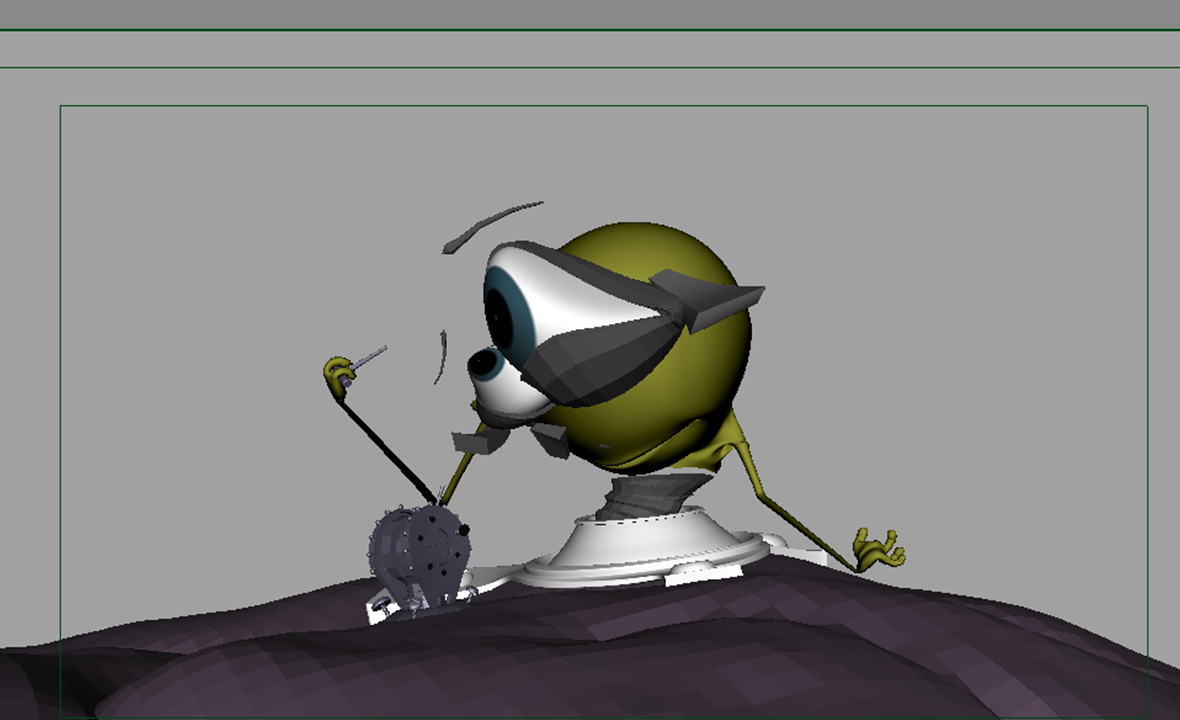
Different Angles
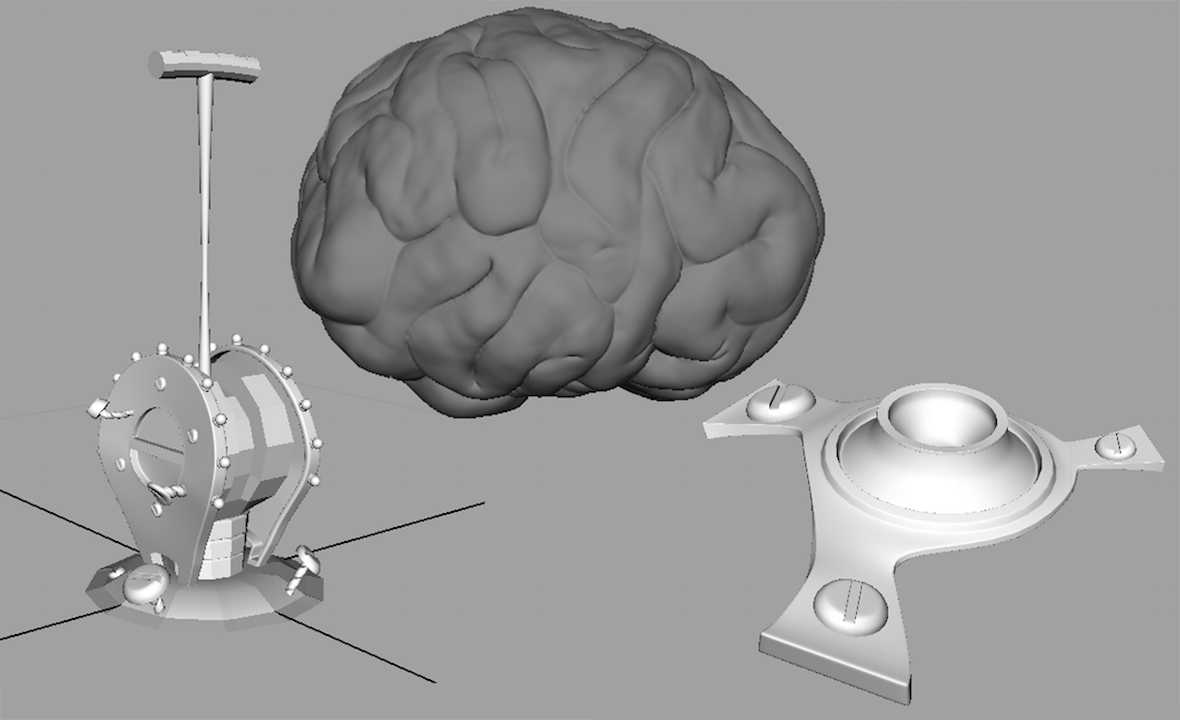
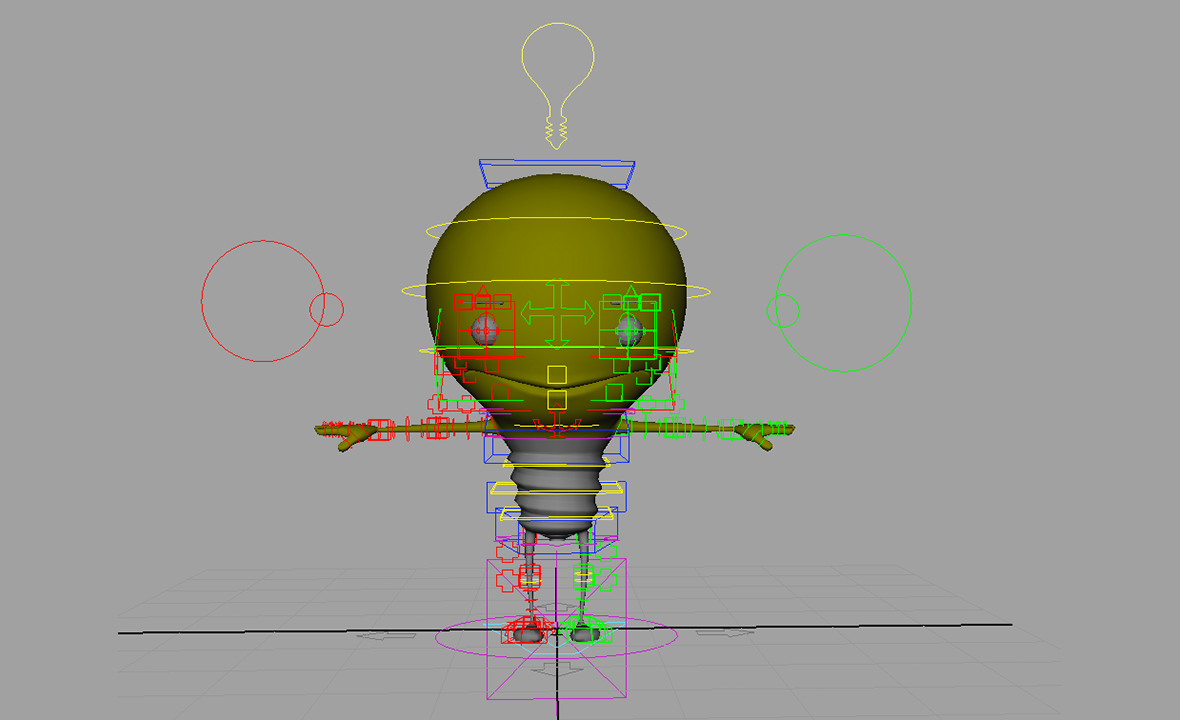
Lightbulb's animation was posed to camera, here's some different perspectives that show how broken the rig needed to get to achieve some of the poses. The only thing that mattered, is that the silhouette worked on camera.
There's also a shot displaying the rig controls, which consisted of a very basic base bone rig that merely placed the character on the scene, and a bunch of lattices, and clusters. These would help get a doll like pose, and the rest was added with corrective blend shape sculpts.
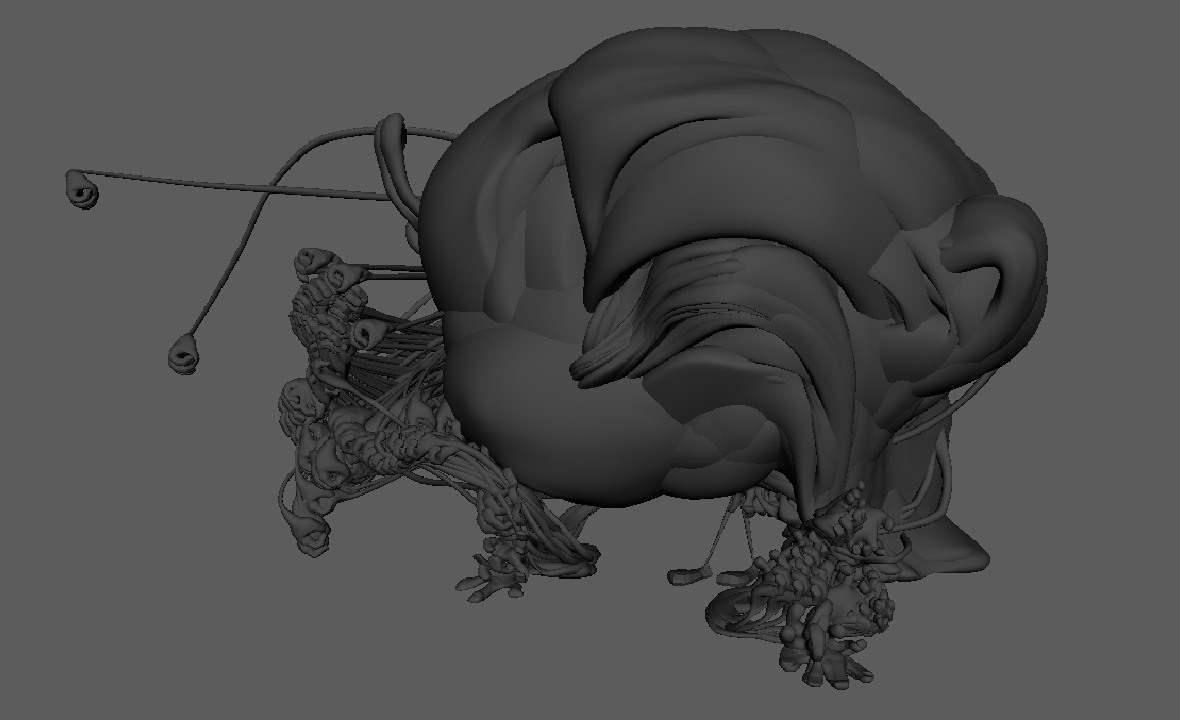
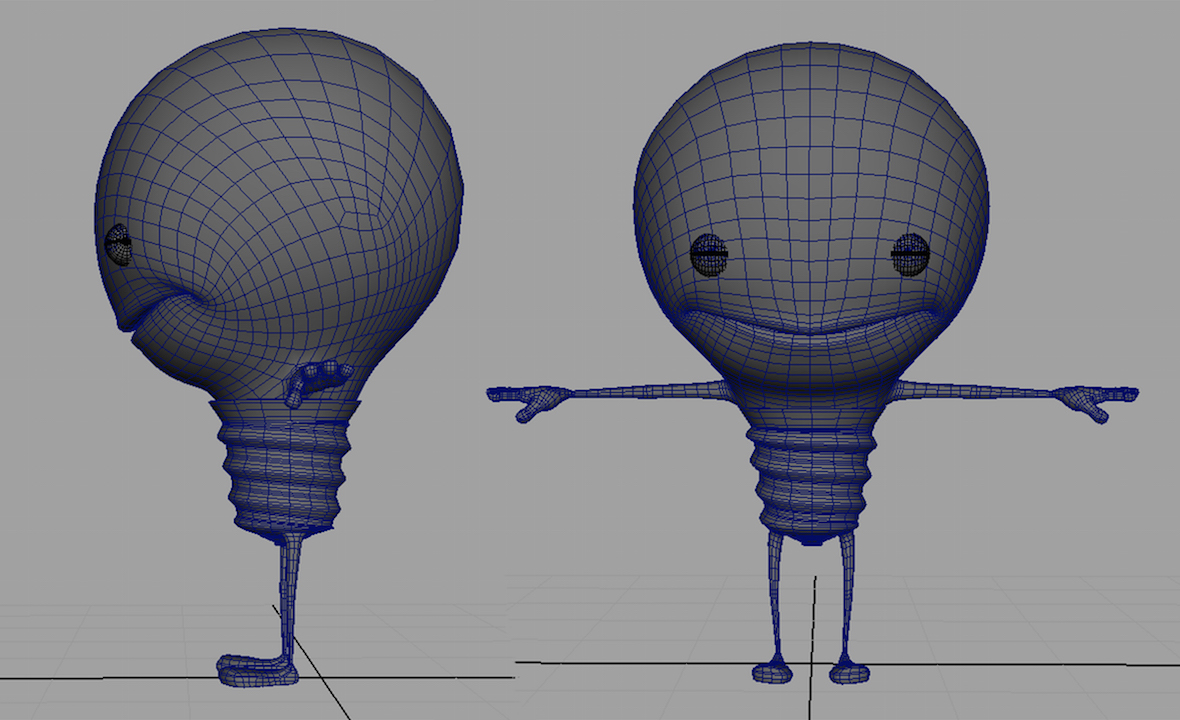
Corrective Blend Shapes
Here's the corrective blend shapes used on the lightbulb's head geometry. Other geometries like the base of the bulb, would have their own corrective blendshapes as well
These shapes are called almost every frame to form the poses, using them as the base workflow to animate almost rigless.
Tools back in 2011 were kind of limited for this approach, and it was definitely a lot of repetitive hand work, but worth it to achieve a handcrafted feeling on the animation.
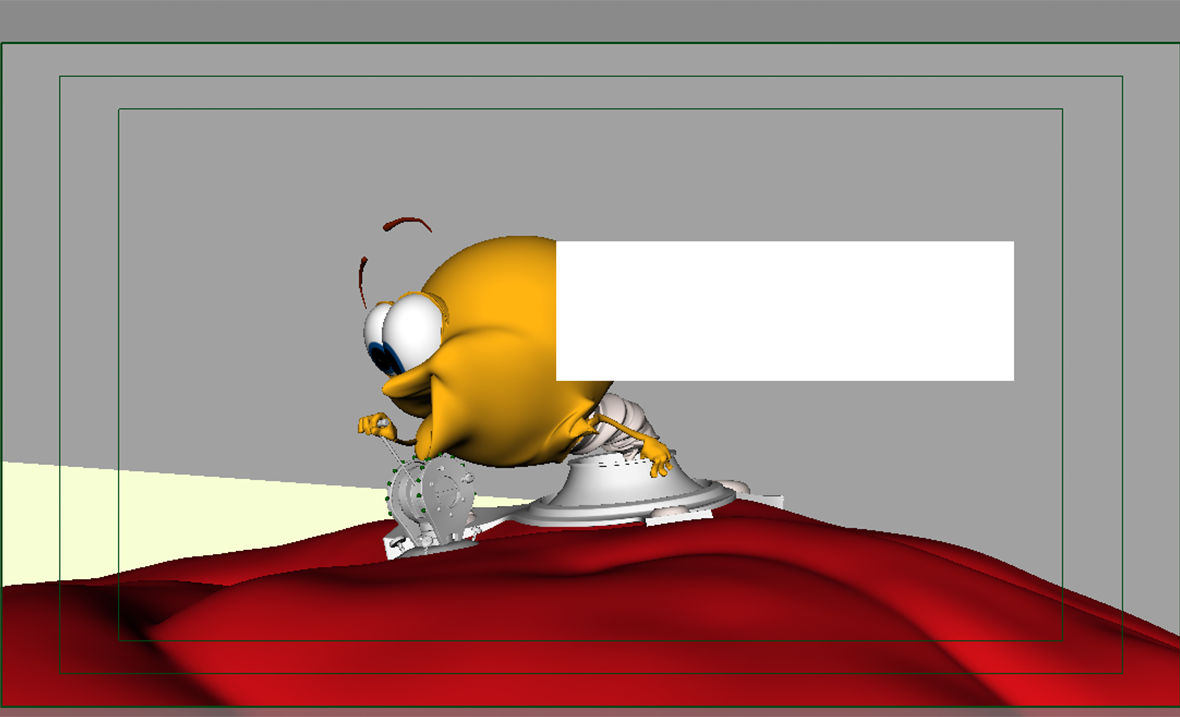
Lights Test
This is a light animation test that I did in Nuke for Fernando (lighter) before he sent the animation to render with all the shading and lighting, so that he could hook up the timing of when Mr. Lightbulb was going to be on and off.
Fernando did an amazing job, at setting up Nuke for me so that he could just explain me how to key-frame the lights, and made it feel so intuitive to animate on.
Stills